Phantom Ball Guides
From first Block to Ability combos and Gem routes.
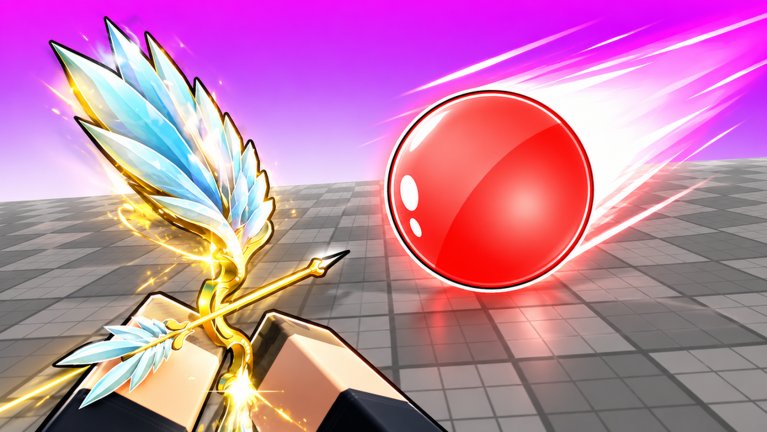
Welcome to the Phantom Ball Guides Hub. Every tutorial here is written for the live Roblox battleground by Jule Games: deflect the ball with Block, spend Abilities on Q and 1, lean on automatic Passives, and be the last player standing. Use this page as a map - pick the guide that matches your bottleneck, then jump back when you are ready for the next skill.
New players should not open Crates blindly or paste scripts on day one. Learn the loop, claim Codes, and build timing before you chase S-tier cosmetics on the Tier List Hub. Official Discord, X, and group links live on the Links Hub when you need fresh announcements.
Start here
Getting Started
Day-one walkthrough covering the match loop, early objectives, leagues mindset, and what to unlock first. Includes a mid-article video walkthrough for visual learners. Read this if you just clicked Play on Phantom Ball and want a structured first hour.
Controls
Full PC and mobile control reference: Block via F / Tap / UI / Left Click, Ability 1 on Q, Ability 2 on 1, and Passive behavior with no key. Also covers practical camera and UI tips so binds never surprise you mid-rally.
Core skill guides
How to Parry
Block timing deep dive with mobile fingertip tips, high-ground positioning, and how to read faster balls as Rage and map boosts kick in. Watch the embedded coaching video, then drill in real lobbies without Auto Parry crutches from the Scripts Hub.
Ability Combos
Practical sequences and counters using community favorites such as Immunity, Wind Force, and Spatial Awareness. Explains when to hold Immunity for unreadable approaches and how Wind Force warps contested returns. Pair with the Abilities tier list.
Farming Gems
Efficient Gem and currency routes: codes first, group rewards, win streaks, map speed pads, and smart Crate timing. Stops you from wasting early Gems on vanity before your kit can win rounds. Cross-check active strings on the Codes Hub.
Device and lobby guides
Mobile Tips
Phone and tablet focus: thumb placement for Block, UI scaling, reduced FOV clutter, and how to survive mid-speed piles without PC aim assist. Read this after Controls if most of your playtime is on a touchscreen.
AFK Lobby
Where macros and autoclickers are tolerated versus live rounds. Explains safe AFK habits, why farming battlegrounds with clickers risks a ban, and how that differs from risky executor scripts. Pair with the Practice Routine tool when you want structured warm-ups instead of automation.
How to use these guides together
- Finish Getting Started so you know the win condition and UI destinations.
- Print the Controls binds into muscle memory on your device.
- Spend a session only on How to Parry - no Ability spam, just clean Blocks.
- Add Ability Combos once you survive mid-speed rallies.
- Run Farming Gems routes when you need Spins or Crate keys without burning out.
- Open Mobile Tips if you mainly play on touch, or AFK Lobby before leaving any macro running.
Between guide sessions, skim Players and the dedicated Leagues guide for climb context, and Updates so a physics patch does not blindside your timing.
Guide design rules on this wiki
- One focused topic per page - duplicate subjects are merged.
- At most one YouTube embed per page, placed mid-article when present.
- Internal links use clear anchors such as Tier List Hub, never bare URLs as link text.
- Advice stays consistent with site facts: free-to-play release on 2023-04-02, Action / Battlegrounds loop, permanent bans for exploiting and auto farming.
Common mistakes these guides fix
- Redeeming codes but never practicing Block, then blaming Abilities.
- Holding Wind Force until the ball already passed.
- Standing on low ground when high ground would buy reaction time.
- Spending all Gems on Sabers before owning a forgiving Ability.
- Using Autoclickers outside the AFK lobby and risking a ban.
- Treating mobile UI like a tiny PC HUD instead of learning fingertip Block.
Recommended path by goal
| Goal | Open these guides |
|---|---|
| Survive your first week | Getting Started -> Controls -> How to Parry |
| Win more mid-game piles | How to Parry -> Ability Combos -> Abilities tier list |
| Fund Spins and Crates | Codes -> Farming Gems -> Passives tier list |
| Climb leagues | Players Hub -> Leagues -> Ability Combos -> Updates |
| Play mainly on phone | Controls -> Mobile Tips -> How to Parry |
| Idle safely / macros | AFK Lobby -> Scripts ban notes -> Practice Routine |
After the guides
When the basics feel automatic, specialize. Compare Passives like Rage on the Passives page, Sabers including Red Saber on the Sabers list, track patch notes on Updates, and only then experiment with risky tools on the Scripts hub - if you accept ban risk. Most of the player base improves faster by rereading How to Parry than by installing Auto Aim.
This Guides Hub will grow if new systems need their own walkthroughs. For now, the seven linked tutorials cover onboarding, inputs, timing, combos, economy, mobile play, and AFK lobby rules - the exact searches Phantom Ball players make daily. Pick one, play ten focused matches, then return for the next link.
Frequently Asked Questions
Quick answers to the most common Phantom Ball questions.
Which Phantom Ball guide should I read first?
Start with Getting Started, then Controls, then How to Parry. Add Ability Combos and Farming Gems once you can Block mid-speed balls consistently.
Do these guides work on mobile?
Yes. Read Mobile Tips after Controls, and use How to Parry for fingertip Block. Ability buttons mirror the PC Q and 1 slots.
Are the YouTube videos required?
No, but Getting Started and How to Parry include one real mid-article video each for visual timing. You can follow the text alone if you prefer.
Where do codes and scripts fit?
Codes are linked from Farming Gems and have their own hub. Scripts are optional and risky - read that hub's ban warnings, and use AFK Lobby for legal macro limits.
How often are guides updated?
After major ball-speed or Ability patches noted on the Updates hub. Fundamentals of Block and last-player-standing rarely change.